 By Catalina
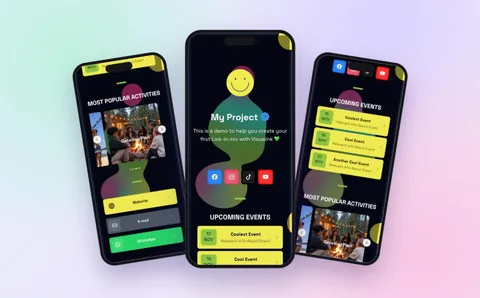
Everything you do, create and share deserves a space of its own. With Visualink, you can bring it all together in a single link that carries your essence.
The best part? You don't need to know how to code or be a designer: you can create your link in bio in less time than it takes to make a coffee.
Let's go step by step.
1. Create your project
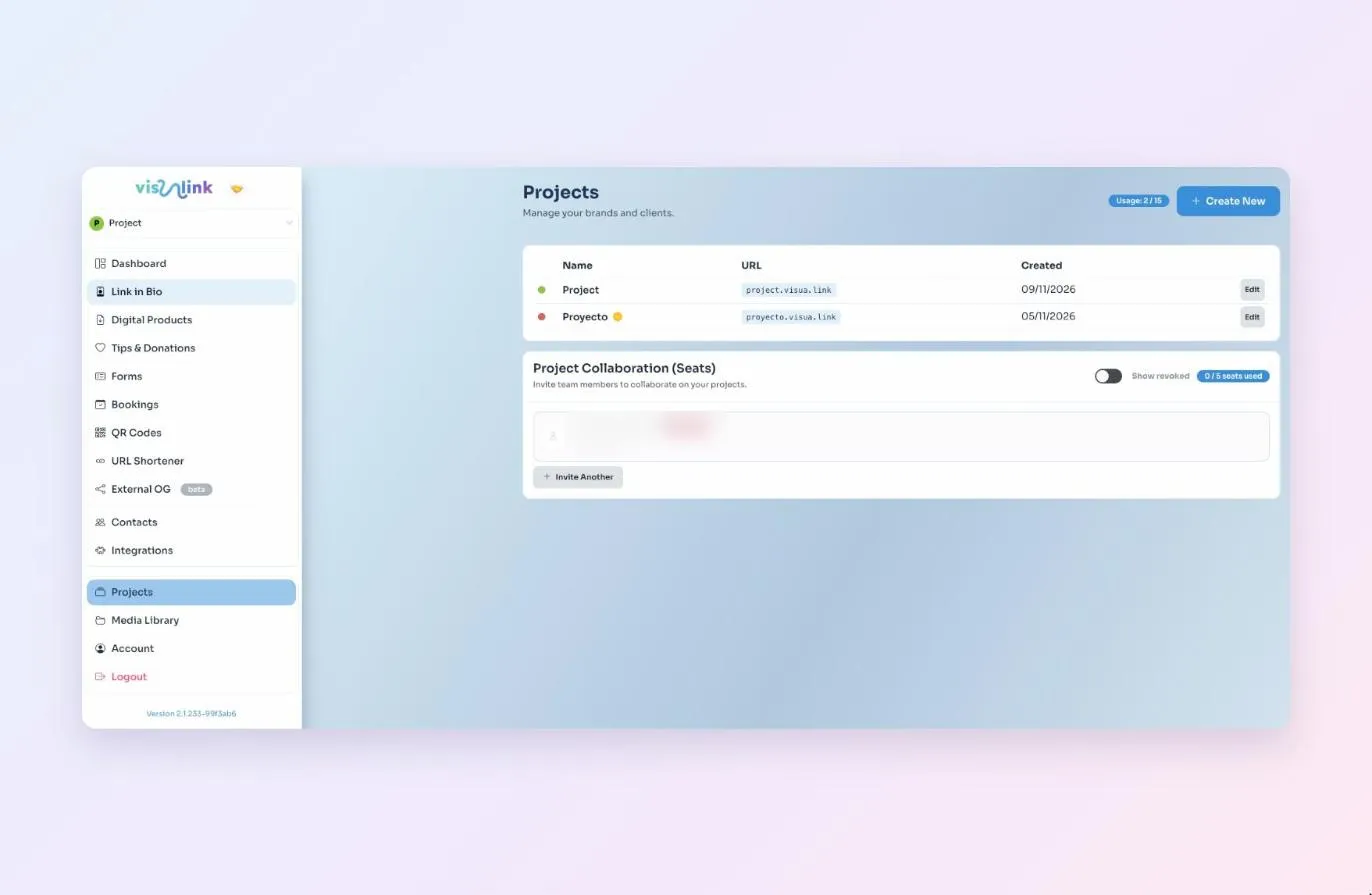
Sign in to Visualink (no account yet? You can create one in 2 clicks with your Google account) and create a new project. That's your corner of the internet, with its own address: yourname.visua.link.
Tip: create a "playground" project too. It's your lab for testing blocks, colours and combinations without fear of breaking anything. When you love something, bring it over to your real project.
Then open Link in Bio from the side menu.
Create your link in bio for free
2. Introduce yourself
Everything is managed from four tabs: Content, Theme, Social Preview and Settings. In this guide we'll use three of them, starting with Content.
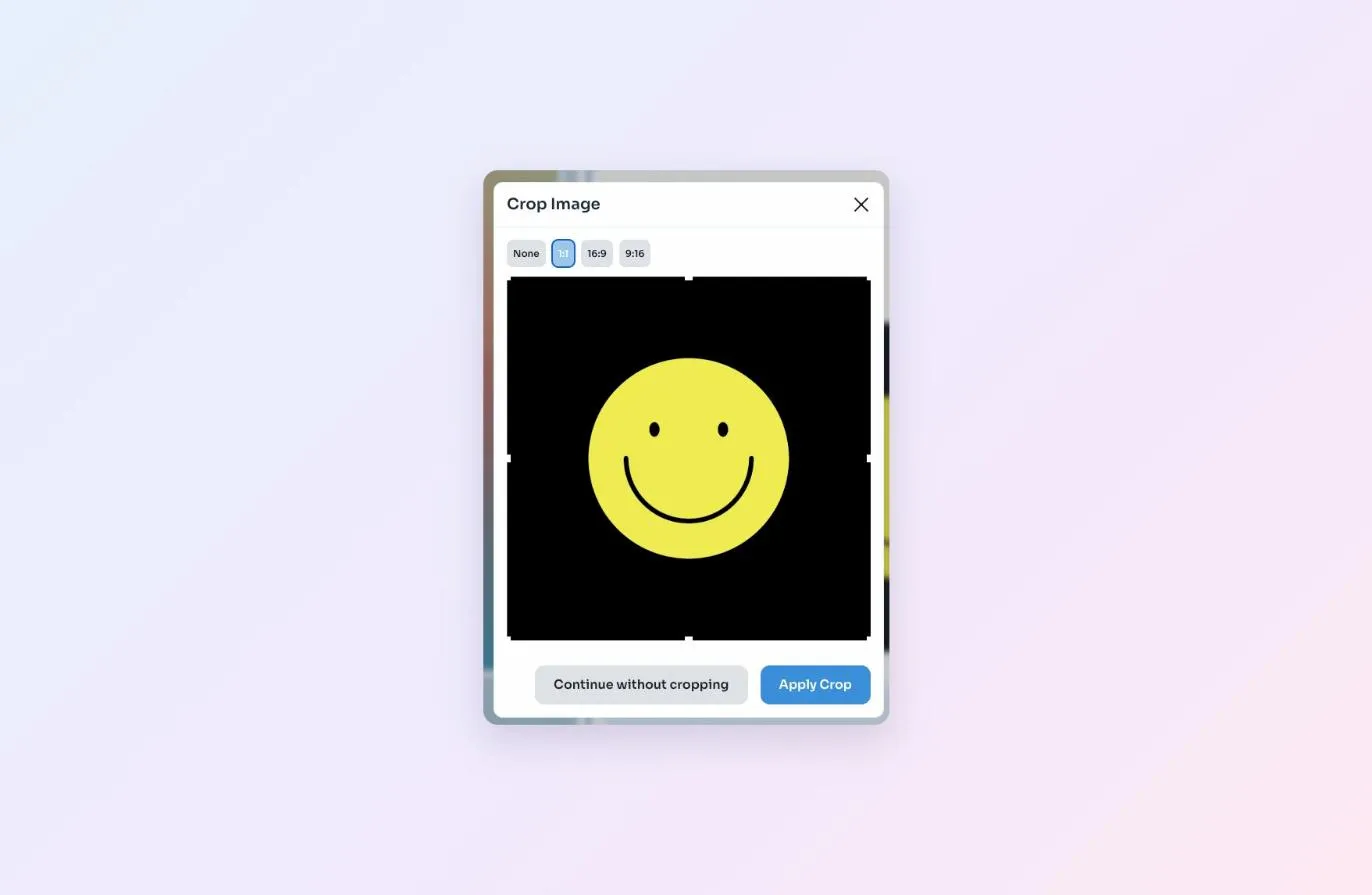
The Hero block is your calling card. Open it and upload your photo or logo; check its dimensions so it fits perfectly.
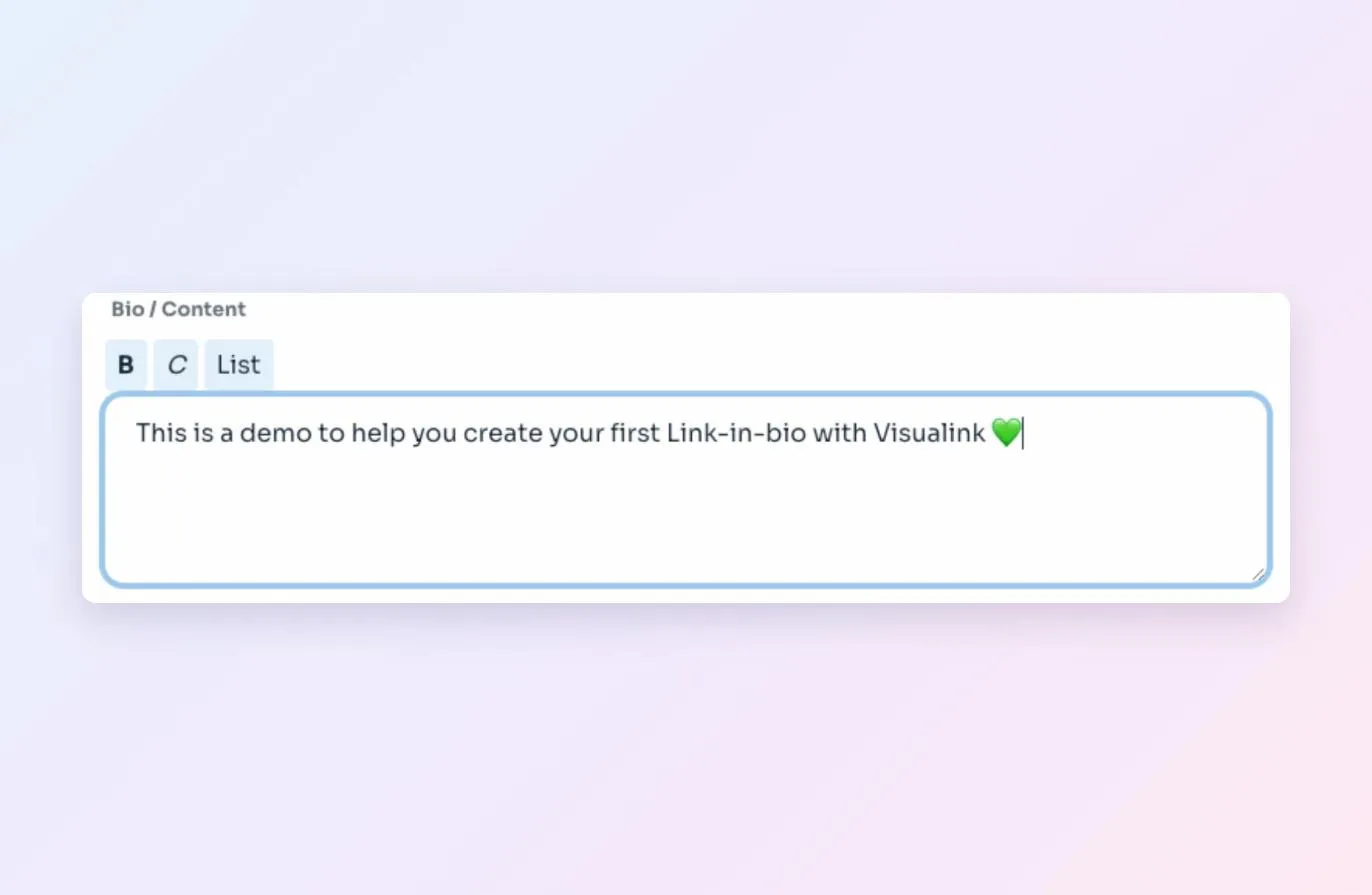
Then add your name, your @ (your handle on your favourite social network) and a short bio. Really short: nobody reads essays on their phone. 😉
3. Connect your socials and organise your content
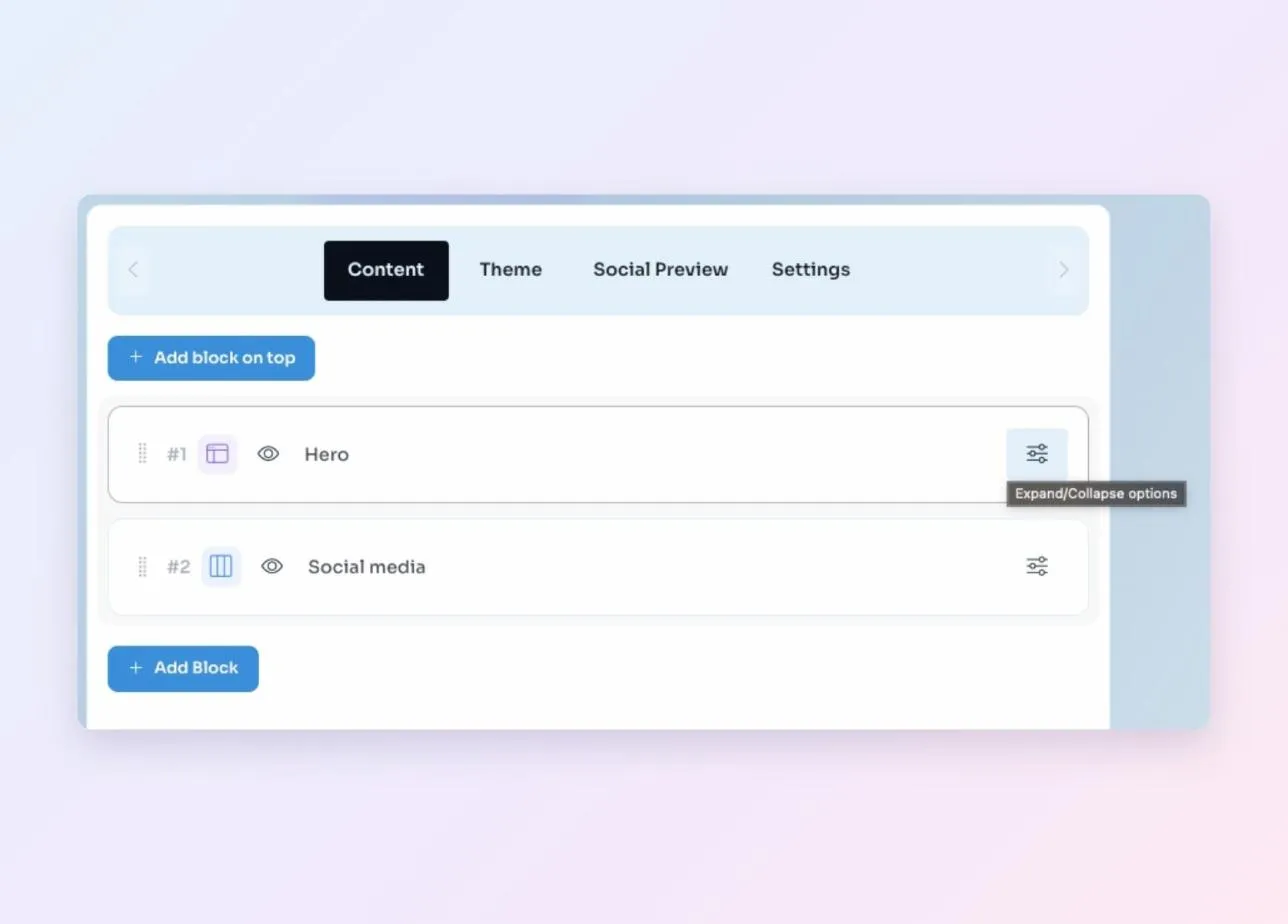
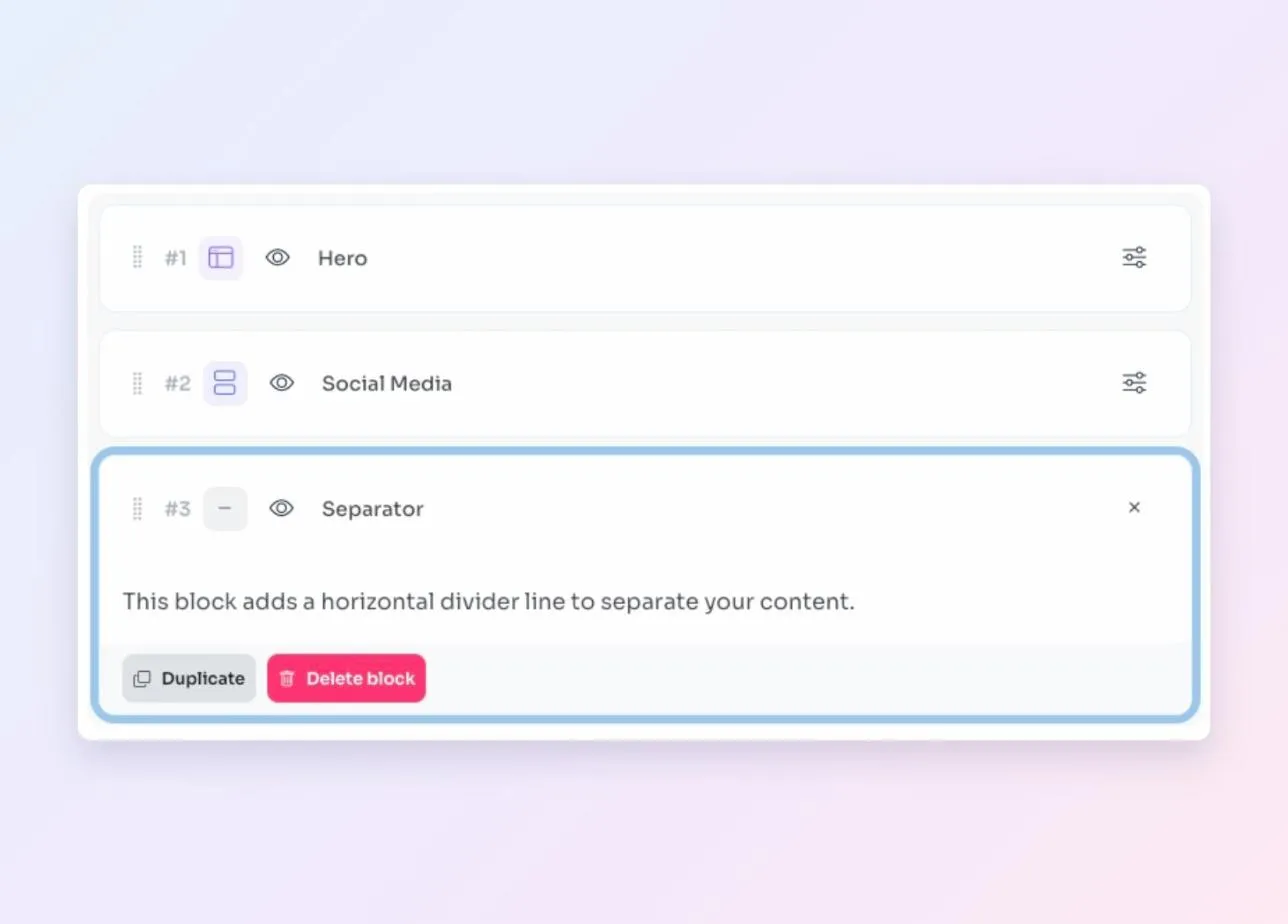
Your link in bio is built with blocks: independent pieces you can add, move, hide or delete. That way you control each part separately, and updating your content takes seconds, without having to redo anything.
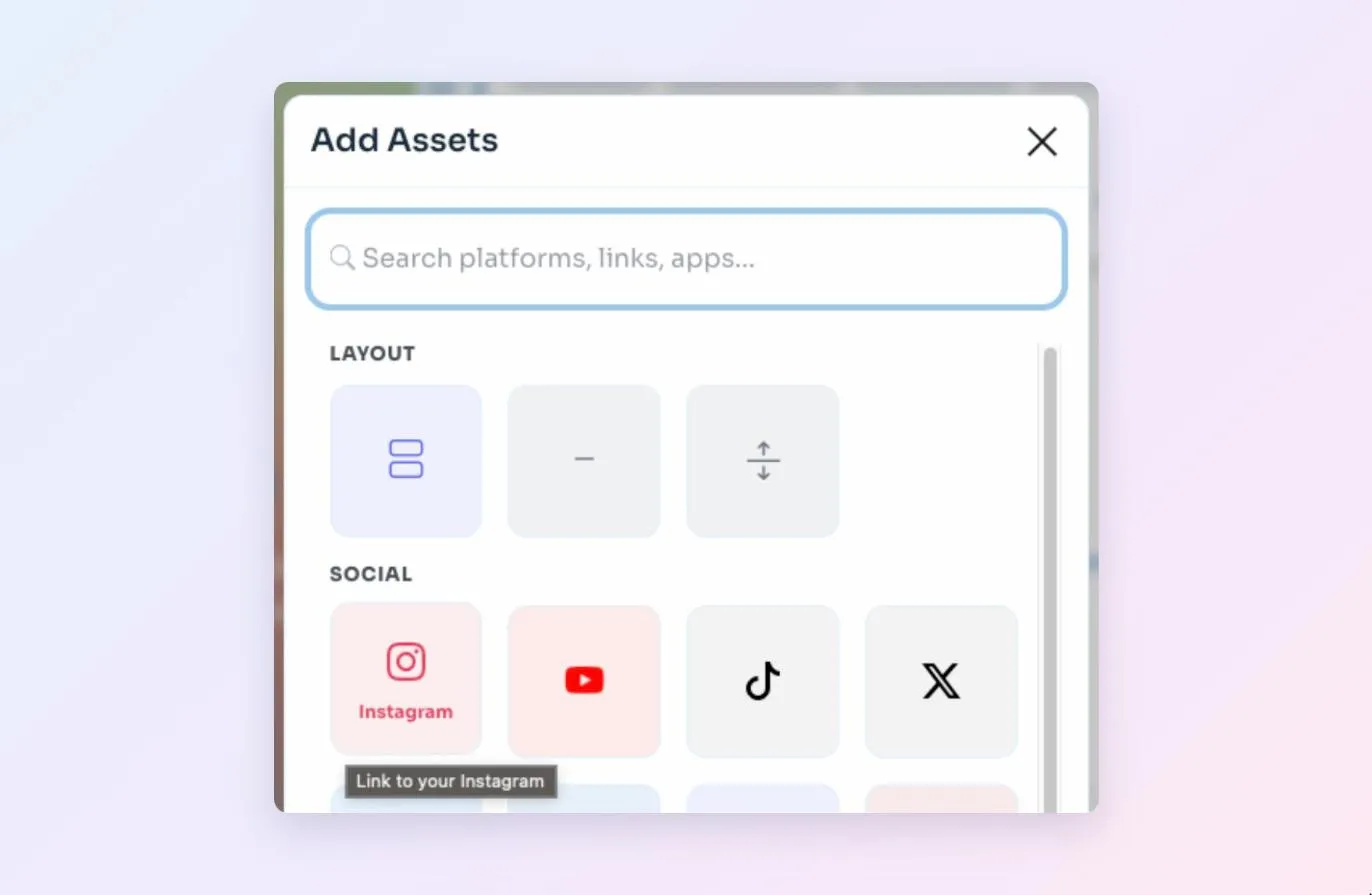
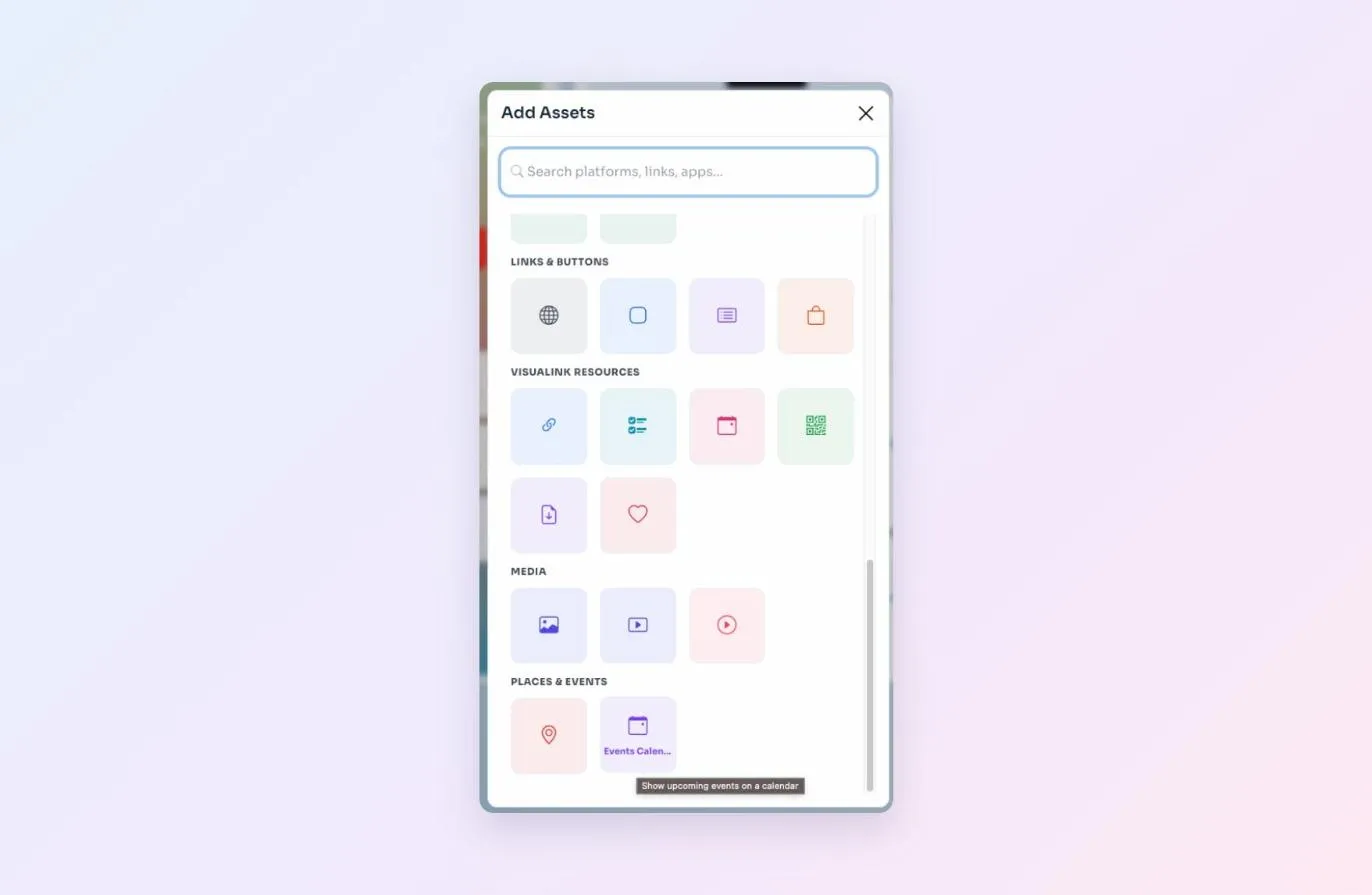
Click Add Block and Add Assets will open: the catalogue of everything you can include. Choose Row and add your socials: Instagram, TikTok, YouTube, Facebook… Type your username and the link fills itself in.
Editor cheat sheet:
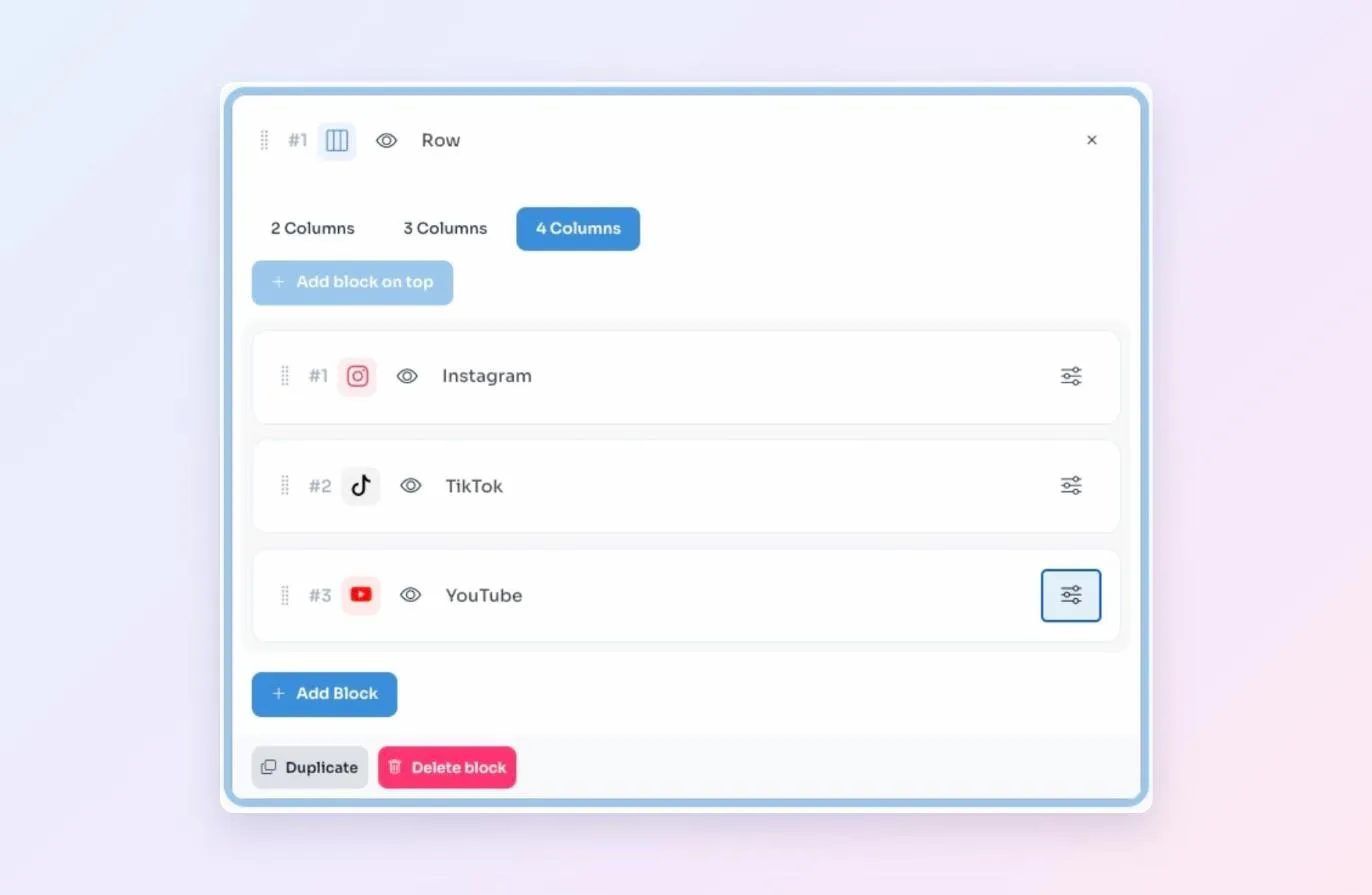
- Add block on top places the block at the beginning; Add Block, at the end.
- The little eye 👁 turns a block on or off. Perfect for hiding something temporarily without losing it.
- The settings icon opens the block's options, and the X closes them when you're done.
- Duplicate copies a block with all its content.
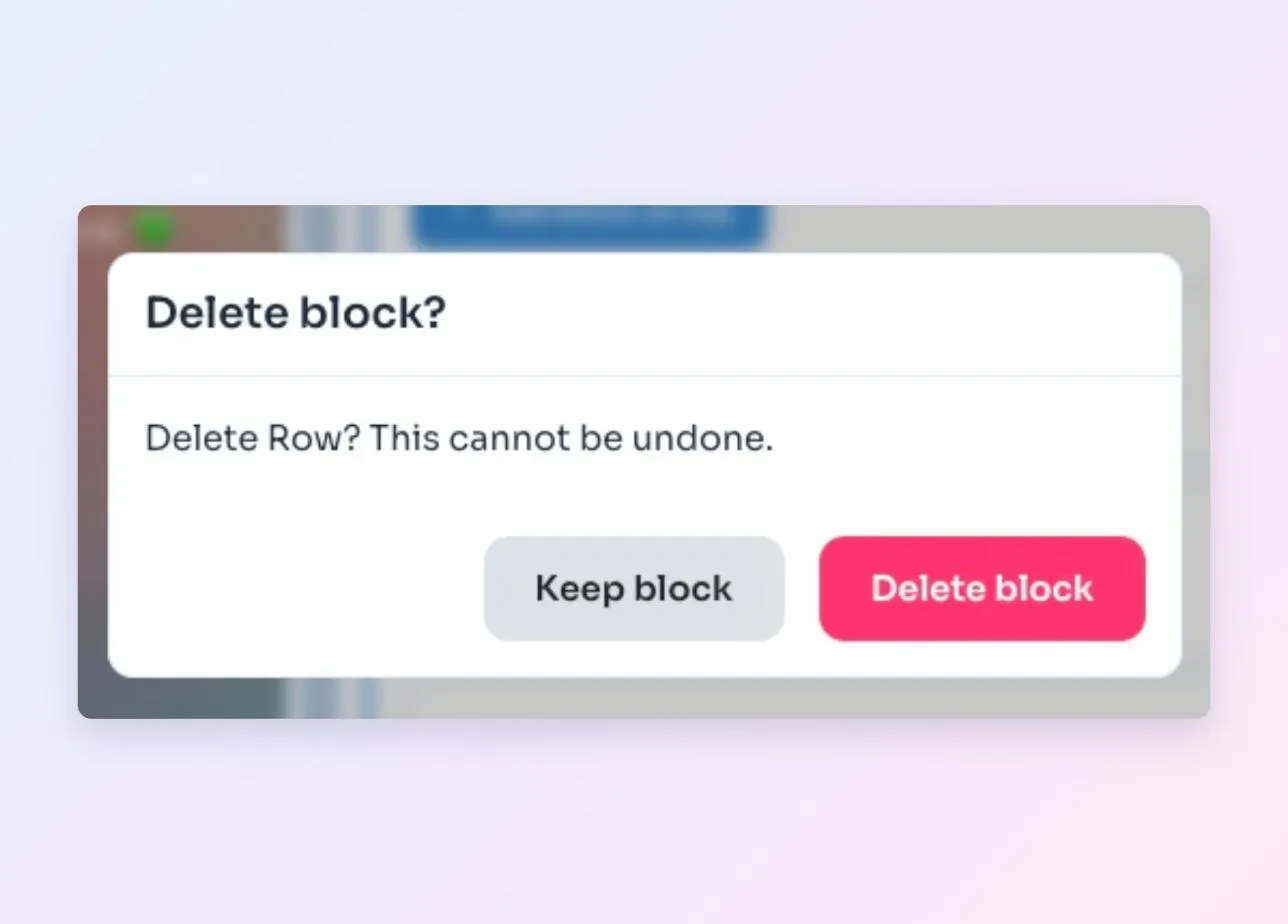
- Delete block removes it. Visualink will ask you to confirm, because it can't be undone.
Want to change the order? Drag the blocks wherever you like. Our advice: put the most important things right at the top. The easier you make it for your visitors, the sooner they'll find what they're looking for.
4. Turn visits into opportunities 🚀
This is where the fun begins. Your link in bio can do much more than show links: you can add images, videos, an events calendar, forms, bookings or digital products.
Imagine you're a personal trainer or a psychologist: your followers can book a session straight from your link. Or that you run a small homemade jam business: you receive orders and enquiries without leaving Visualink. That way, visitors don't just discover what you do: they can also take the next step.
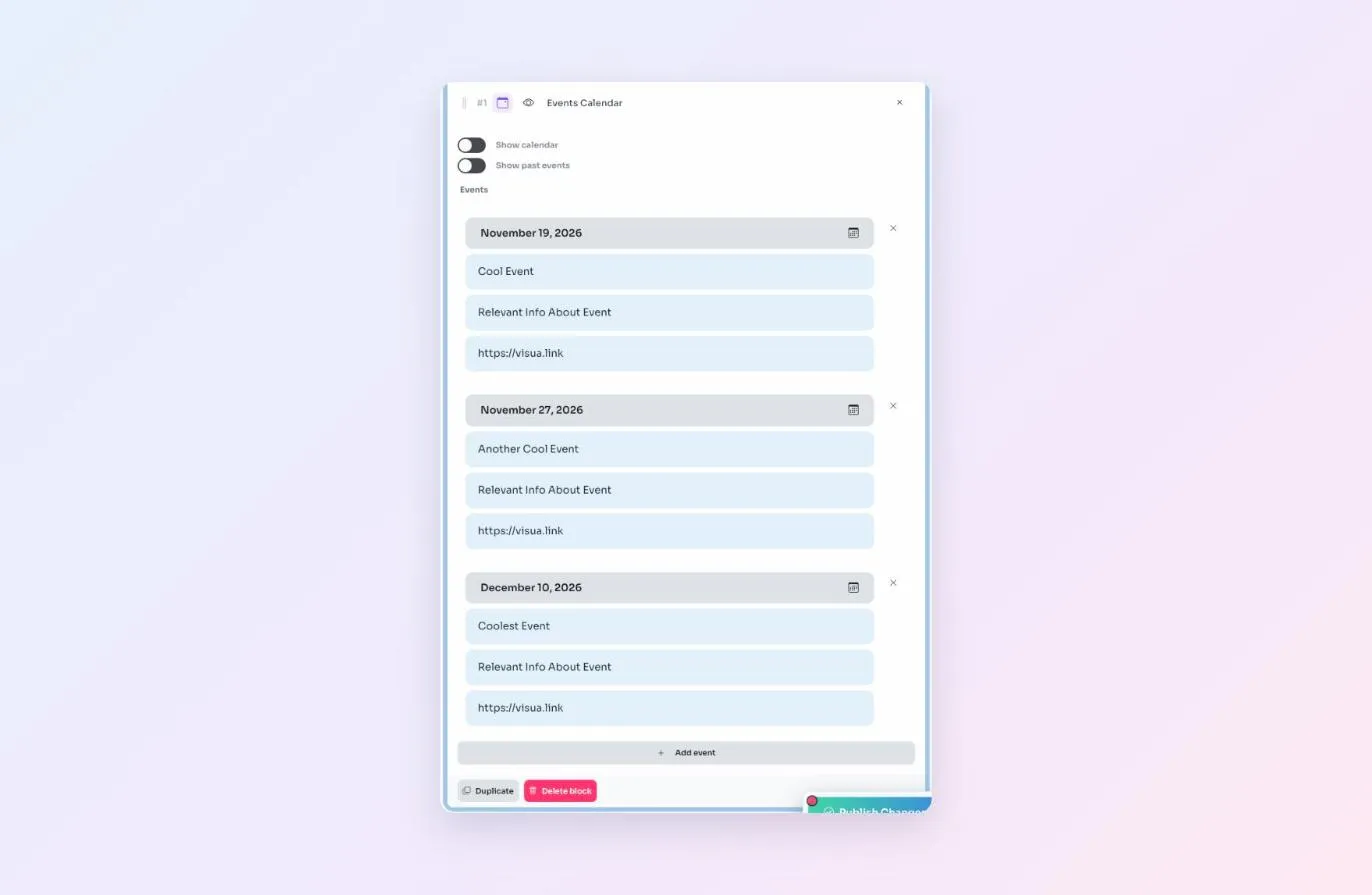
Got events coming up? Add a calendar and your audience will always know where to find you.
To give everything room to breathe, group your content into sections (each can have its own background) and use separators to mark the move from one topic to the next. Your page will read like a story, not a list.
You decide what to show and how you want to be discovered.
5. Add your style and publish 🎉
🎨 In the Theme tab you decide how everything looks. Start from a preset theme and tweak it to your taste: text, surface and accent colours, typography (some are elegant, some bold, and some a little cheeky), corner roundness and entry animation.
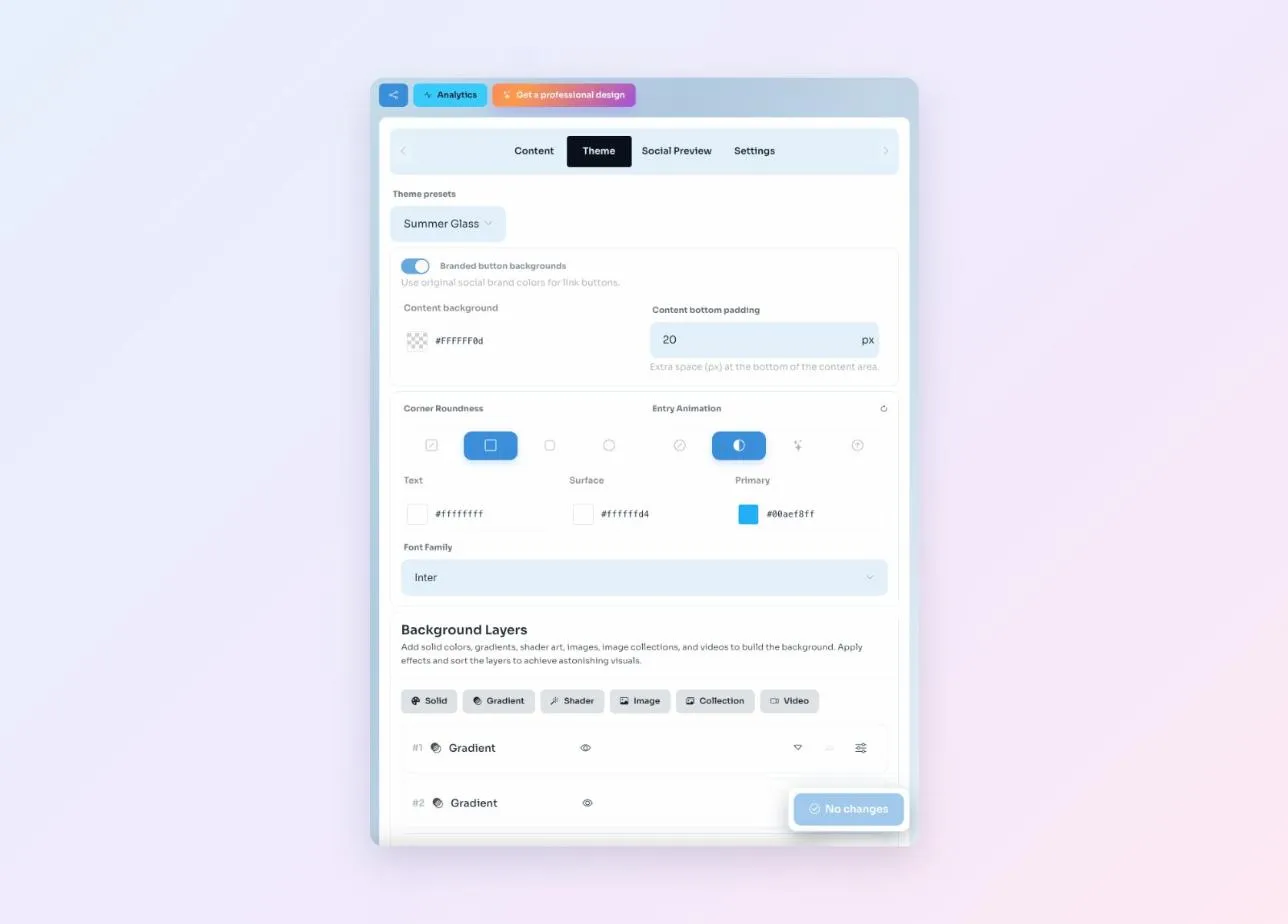
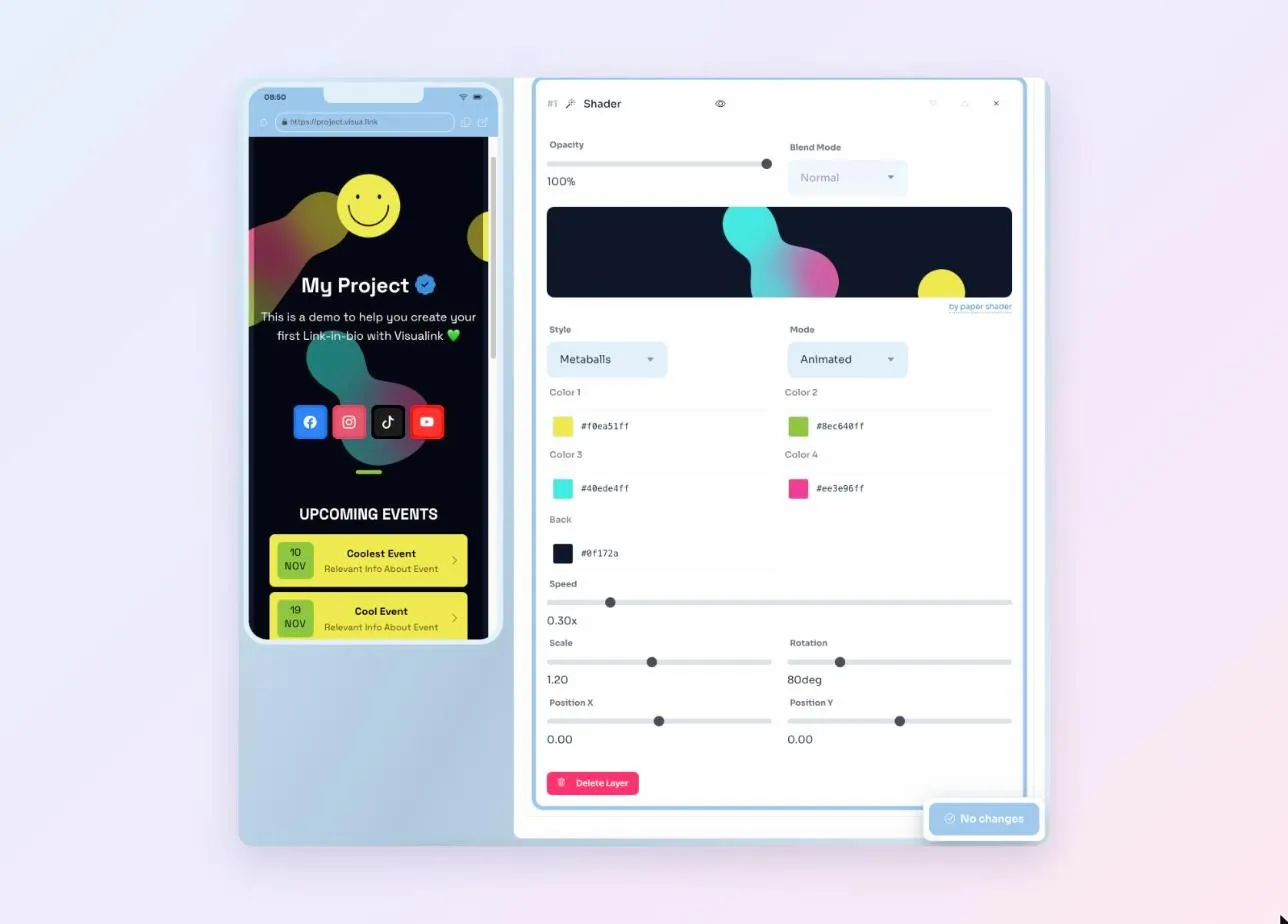
For the background, stack layers: solid colours, gradients, images, video… or animated shaders that bring your page to life. Tip: use the same colours as on your socials, and anyone arriving from your profile will recognise you instantly.
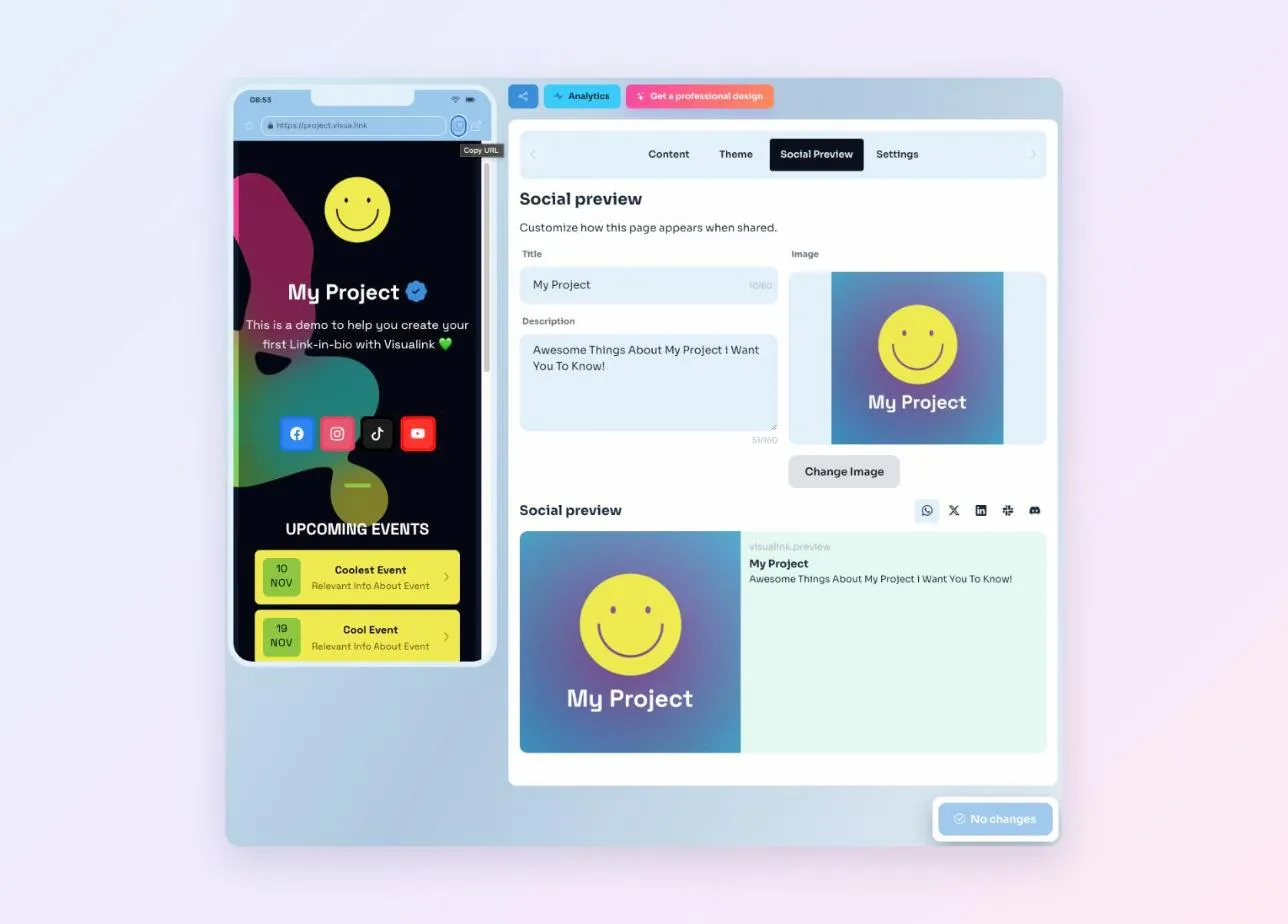
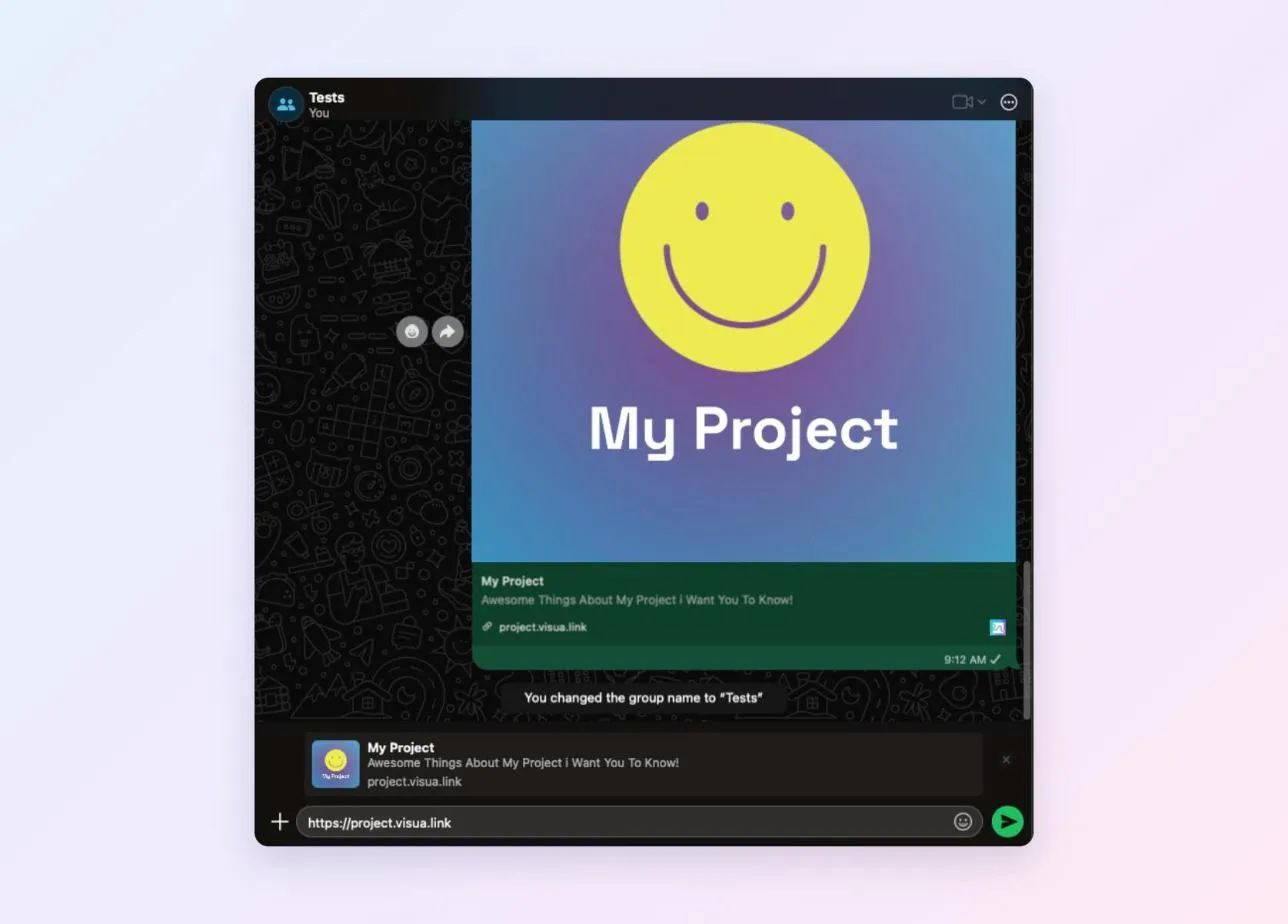
🔗 In the Social Preview tab you choose how your link will look when shared on WhatsApp, X, LinkedIn and other networks: title, description and image. It's the first thing people will see, even before they click.
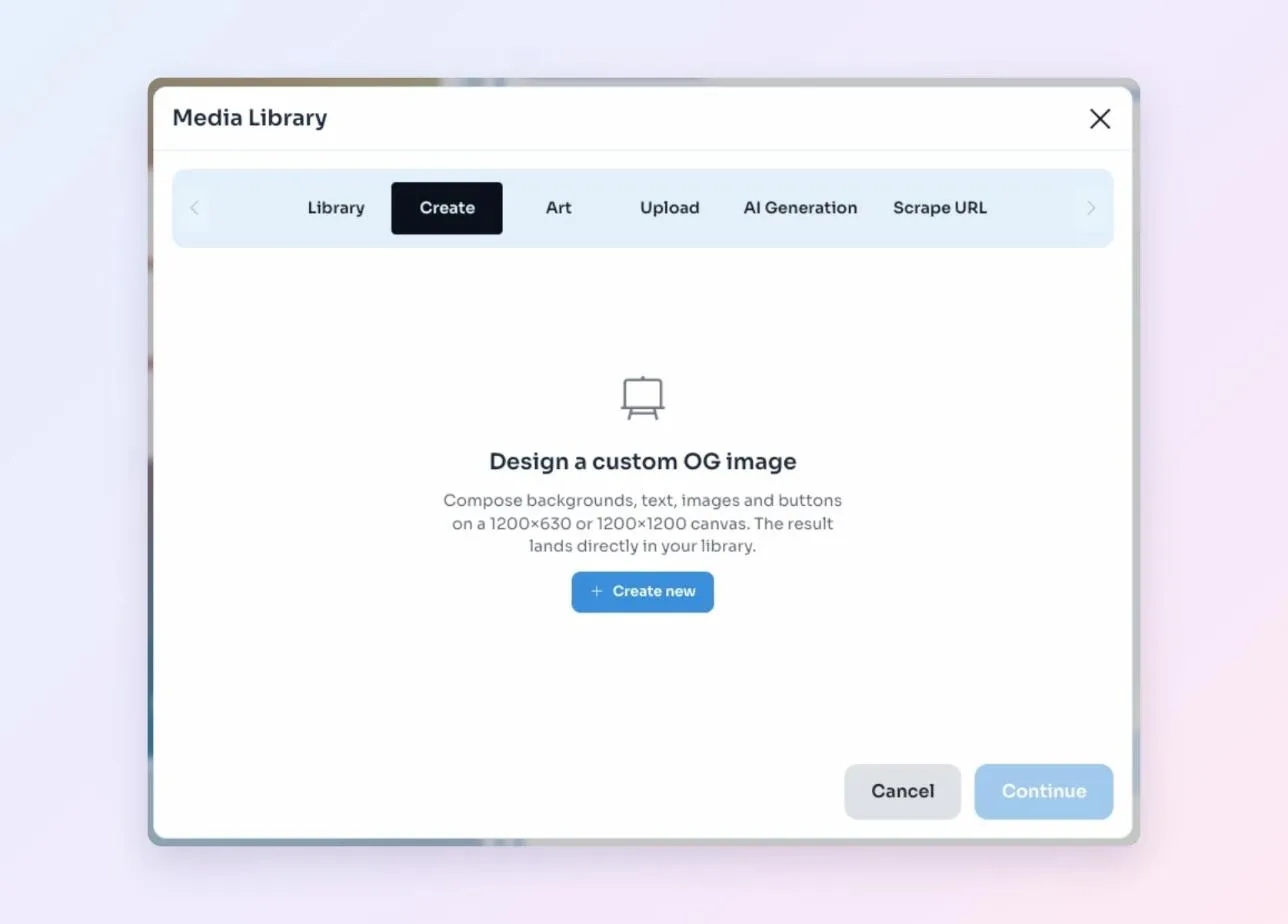
Don't have the perfect image? Create it yourself from Media Library → Create, combining backgrounds, text, images and buttons. It's saved straight to your library, ready to use.
🚀 And now, publish. First, open your link on your phone and browse it as if you'd just discovered your profile. Is everything clear? Do you know where to tap? Is anything unnecessary?
All set? Click Publish Changes and paste your link into your Instagram and TikTok bios, and anywhere else you want to be found. Want to change something tomorrow? No problem: your page grows with you.
One last tip 📊
Publishing is just the beginning. Keep an eye on your analytics to see what sparks the most interest, and double down on what works.
Your space. Your style. Your possibilities.
It's not about including everything, but about making what matters easy to discover.
At Visualink we believe technology should adapt to people, not the other way round. That's why we want you to create freely, without the technical side getting in the way of your ideas and what you can achieve with them.
Ready to create yours? Start for free and try Pro for 60 days, no card required. 💜
And don't forget to check out the link in our Instagram bio for more tips like this one.